“Slide to hide — the cleanest way to cover your plate.”
Discover...

"Engineered to blend in - or stand out."
Built for enthusiasts. Made to impress.
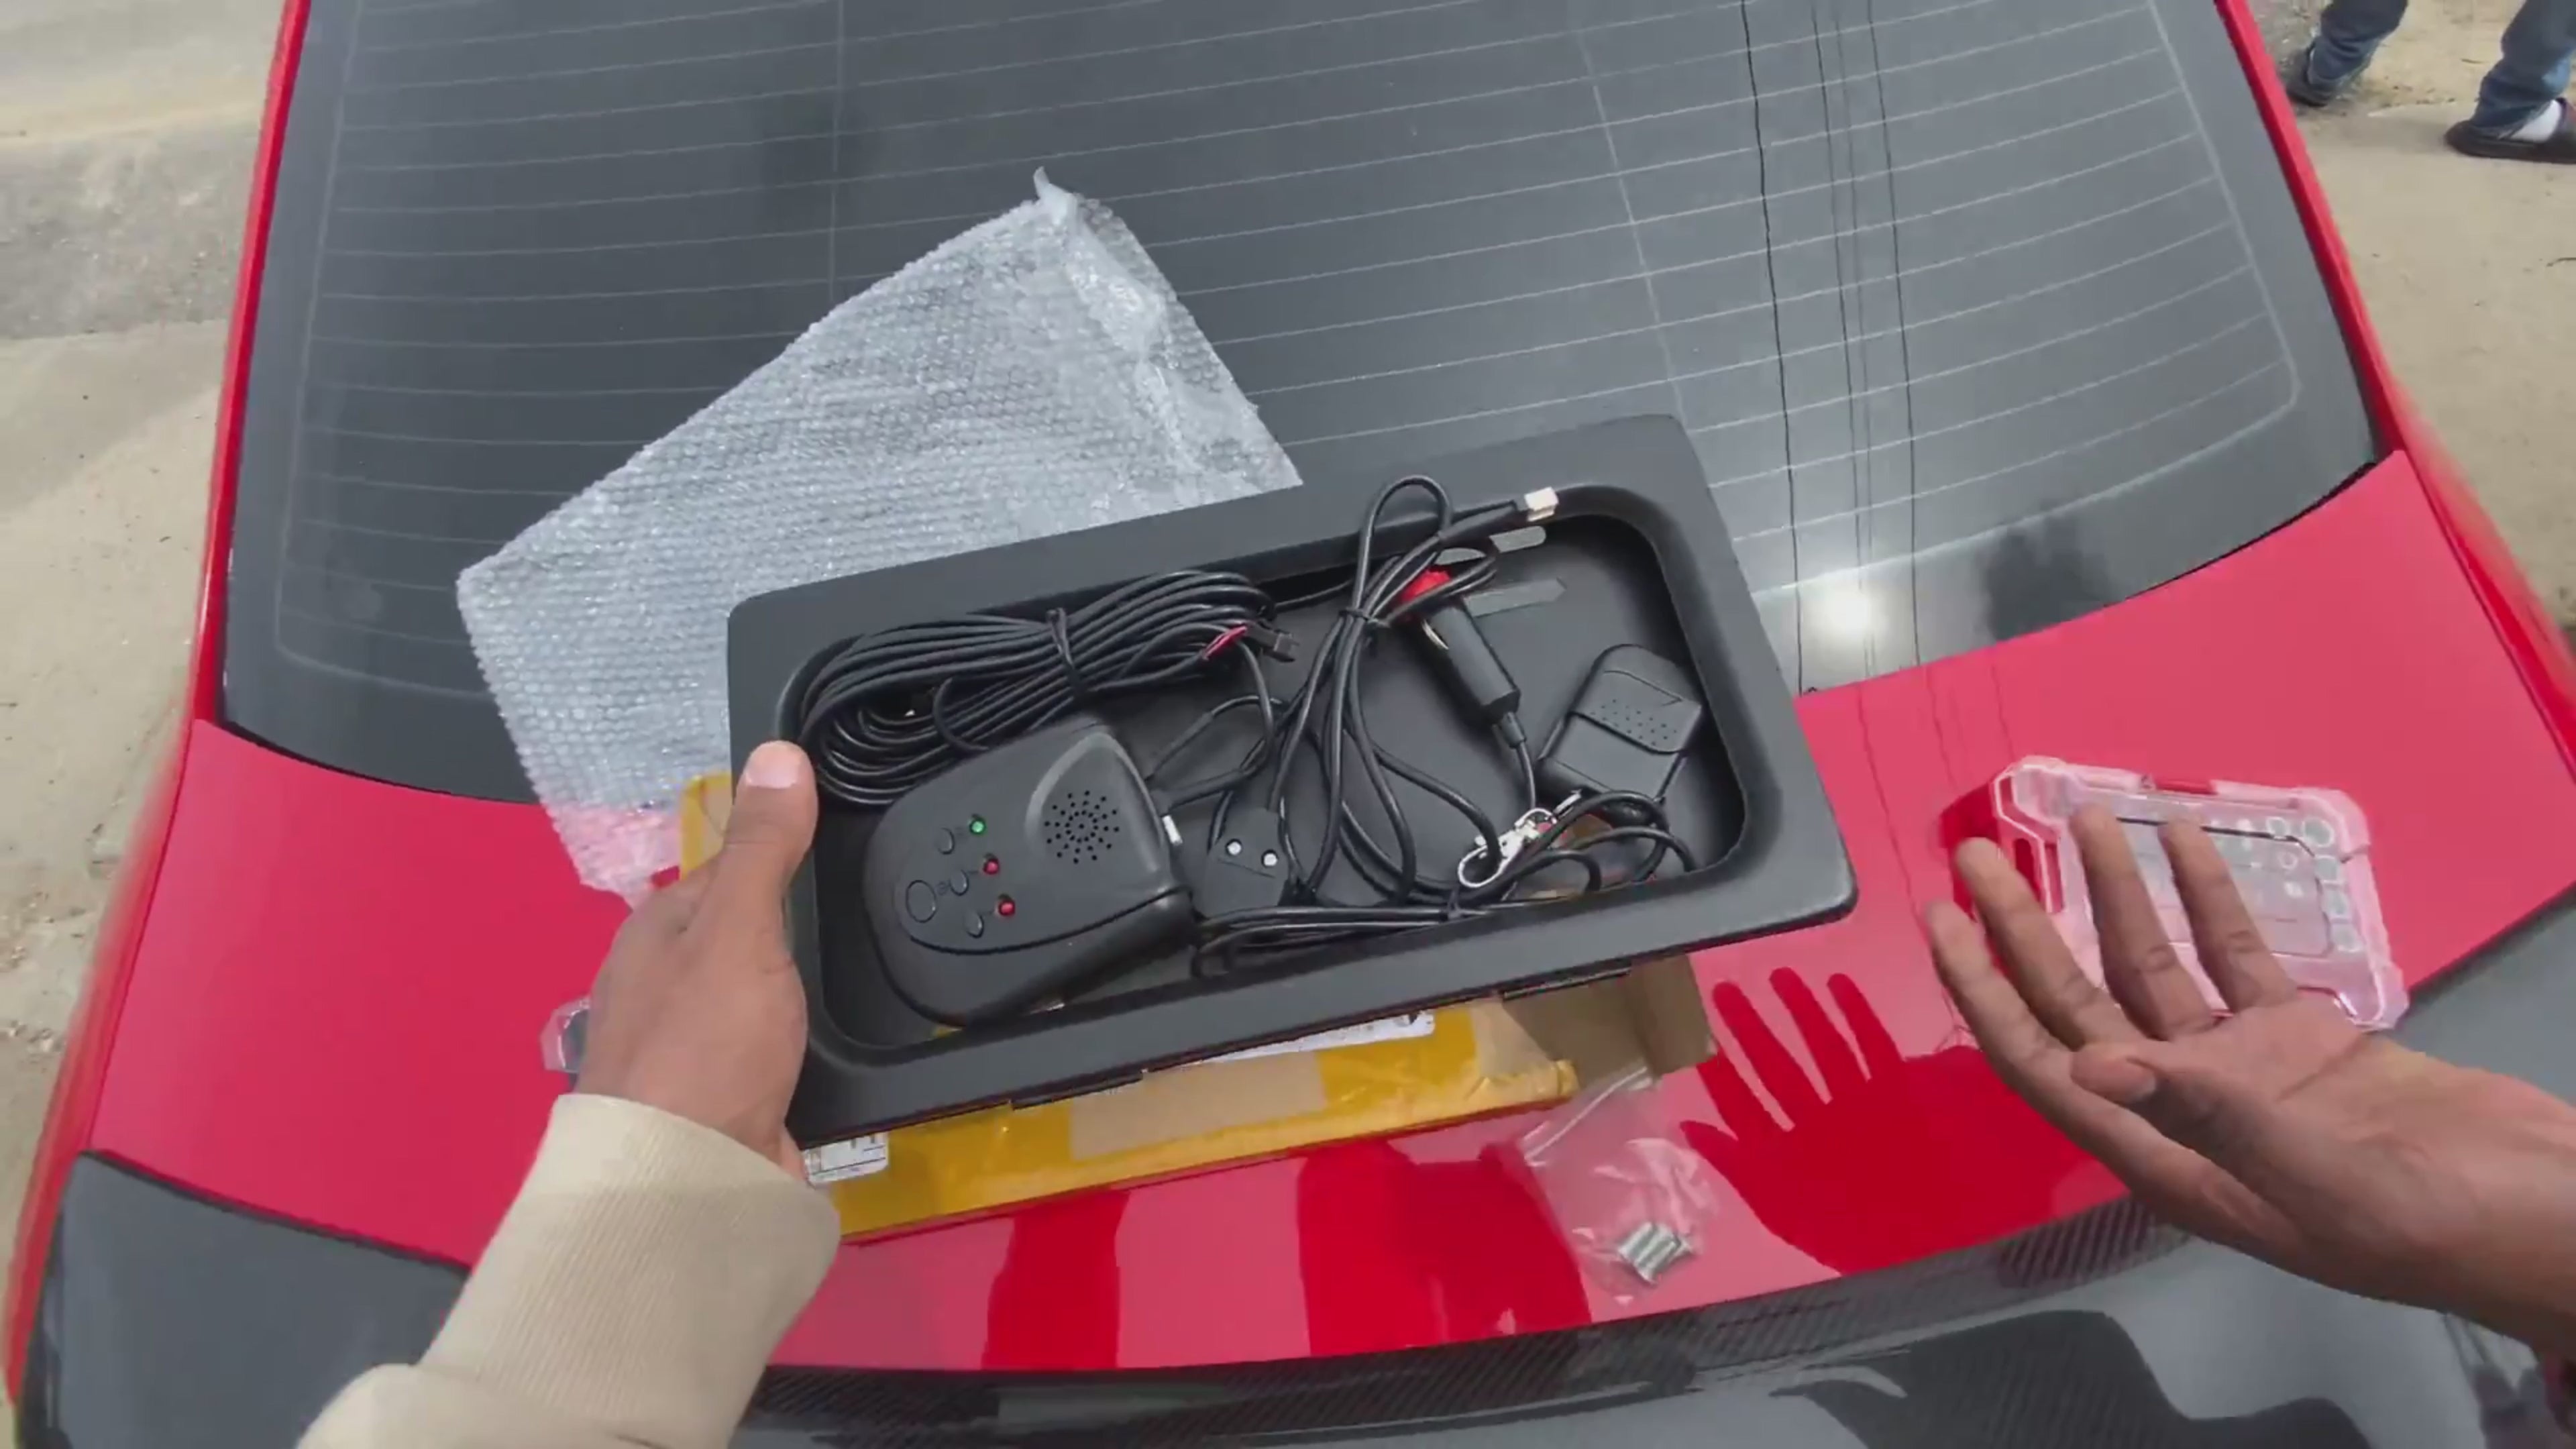
The Pl8 Slider is the perfect mod for car lovers who want full control over how their build is seen. With the press of a button, you can instantly cover or reveal your plate — perfect for car shows, content creation, private events, or off-road use.
⚠️ Please note: This product is not street-legal and is intended for private property or show use only. Always check local regulations before use.
24/7 Customer Support
We’re available by email anytime, day or night — no exceptions.
Free & Express Shipping
Complimentary standard shipping. Express options available. Delivery always under 2 weeks.
Premium Quality Guarantee
We deliver uncompromising quality with every item. Crafted for excellence.
License Plate Frame Rollers – Full Installation Guide
This installation guide will walk you through the process of installing your front and rear license plate frame rollers for both European-size and USA-size license plates. This guide applies to all vehicles compatible with universal plate sizes. Please follow the steps that apply to your plate type.
What's Included
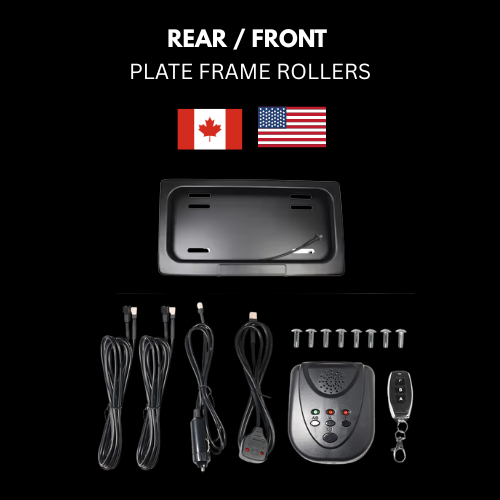
- 1x Front License Plate Frame Roller
- 1x Rear License Plate Frame Roller
- Mounting screws (optional)
Tools Required
- Phillips or flathead screwdriver
- Optional: Power drill with screwdriver bit


